Managing Tagged Values
To use the ThreatGet Analysis in Enterprise Architect, you have to use the ThreatGet Toolbox to model the system.
This Toolbox provides your defined Elements, Connectors and Boundaries.
It is also possible to define so-called Tagged Values for elements and connectors.
A Tagged Value can be seen as an attribute / property of an element or connector. A Tagged Value is a key-value relationship and describes a single property. The user can define these Tagged Values within the web interface and then add them to elements and connectors. When defining a Tag, several possible Values can be assigned. One of these Values can then be selected during the modeling phase.
An example of this would be that you want to define a Tagged Value that describes which protocol a connector uses.
Tag = protocol
Values = HTTP, HTTPS, SMTP .....
Create a new Tagged Value
To create a new tagged value, you first have to switch to the correct overview.
Please click on Elements in the Navigation bar. RED marked in the picture below.
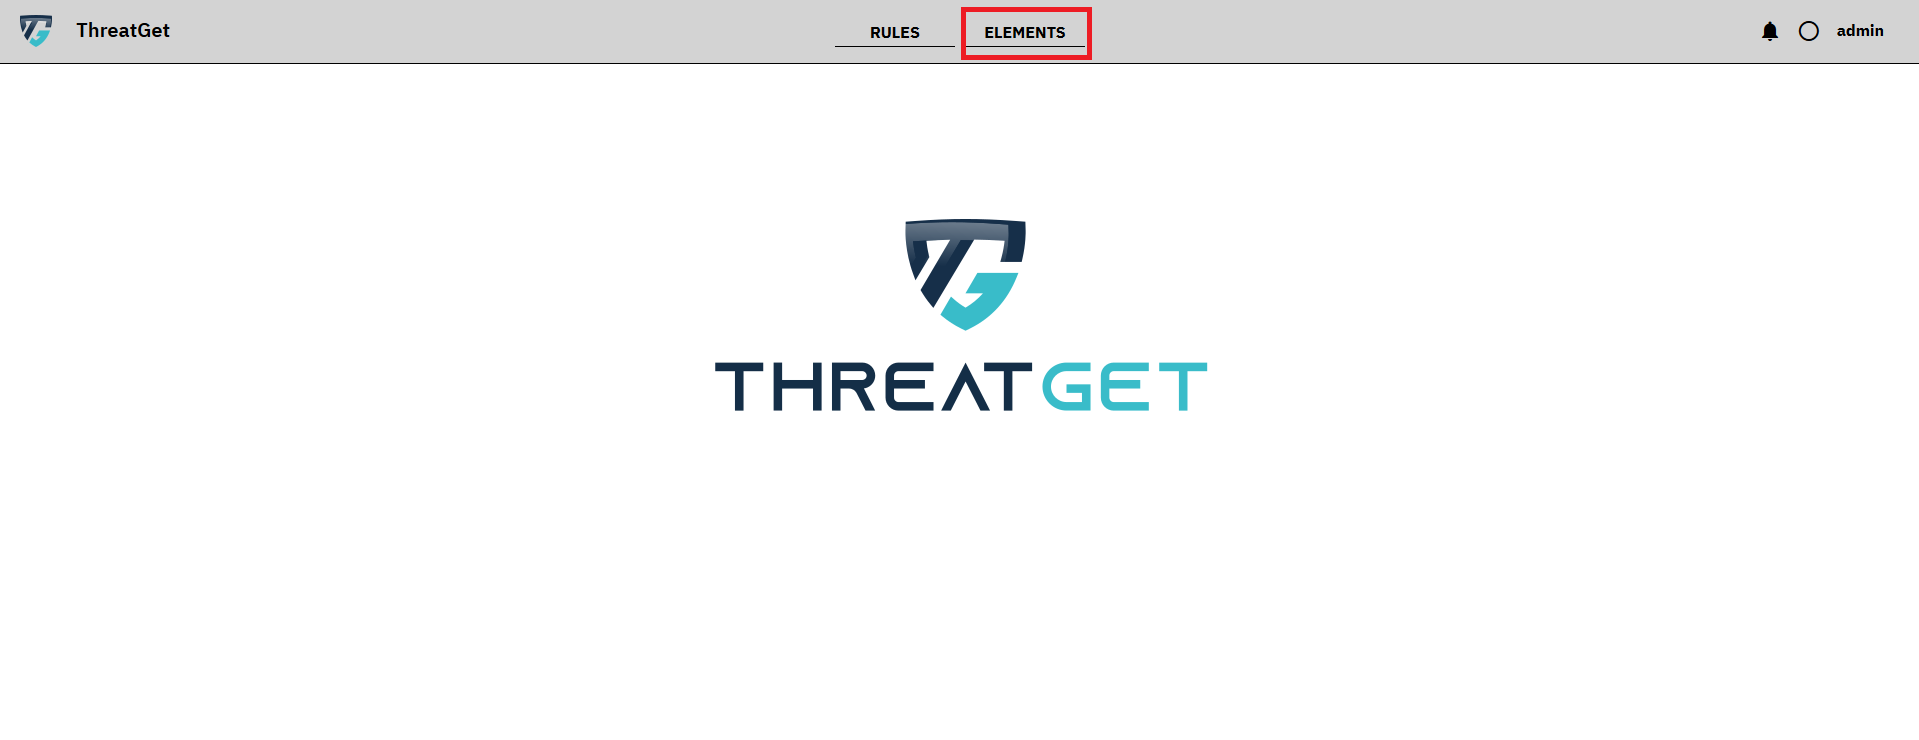
This opens the overview with the defined elements. Since the tagged values are part of the elements, they can also be created/changed/deleted here.
To get to the Tagged Values area, please click on the RED marked menu button in the Sub Navigation Bar.
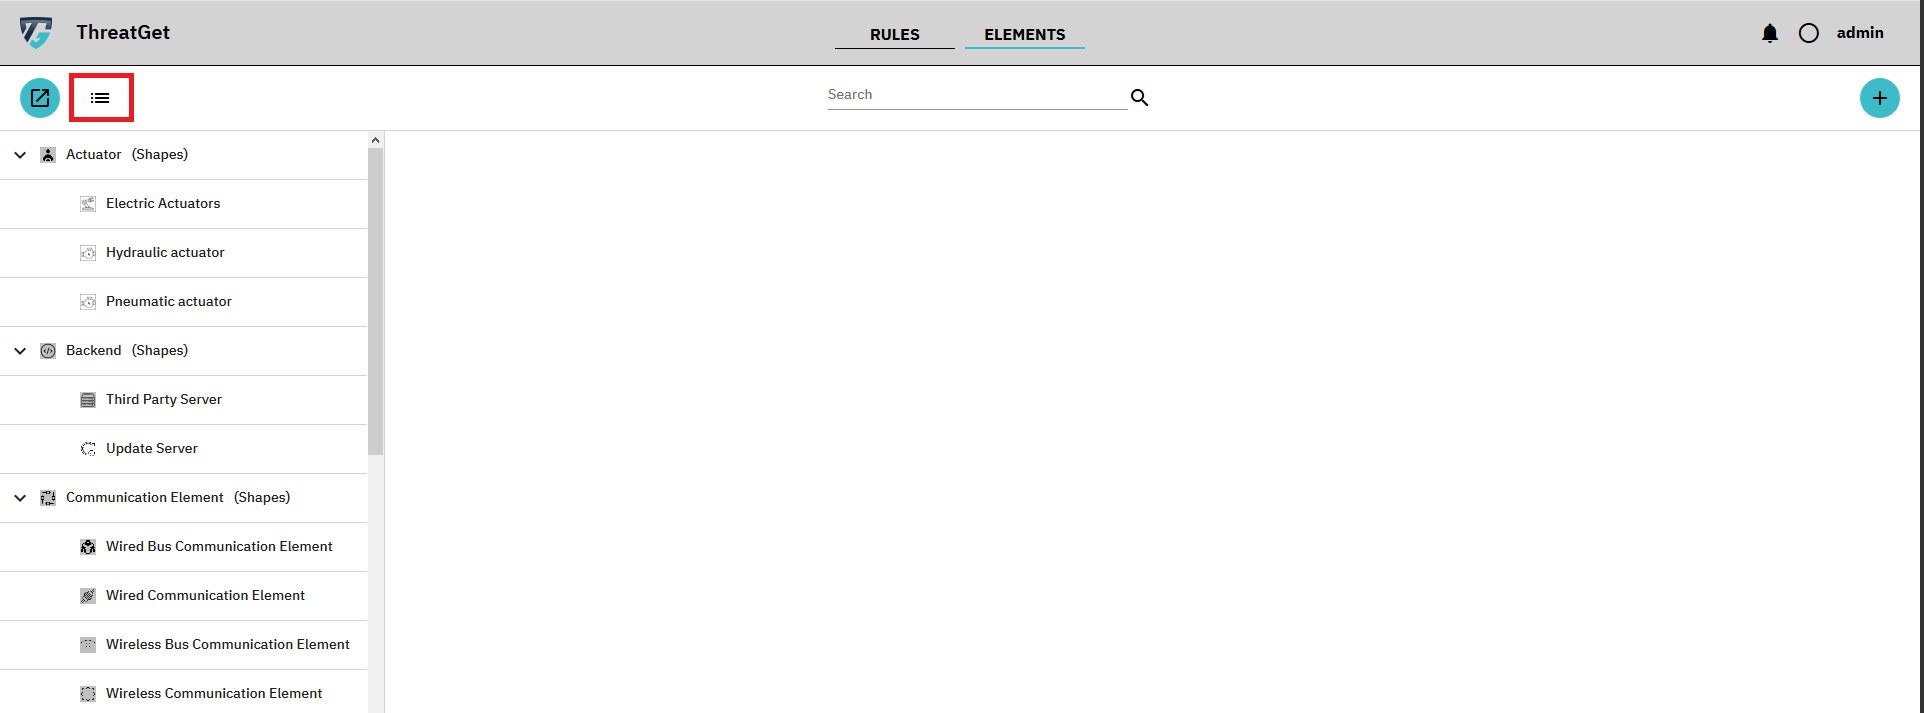
Then the tagged value overview will be presented. New tagged values can be created, edited and deleted here.
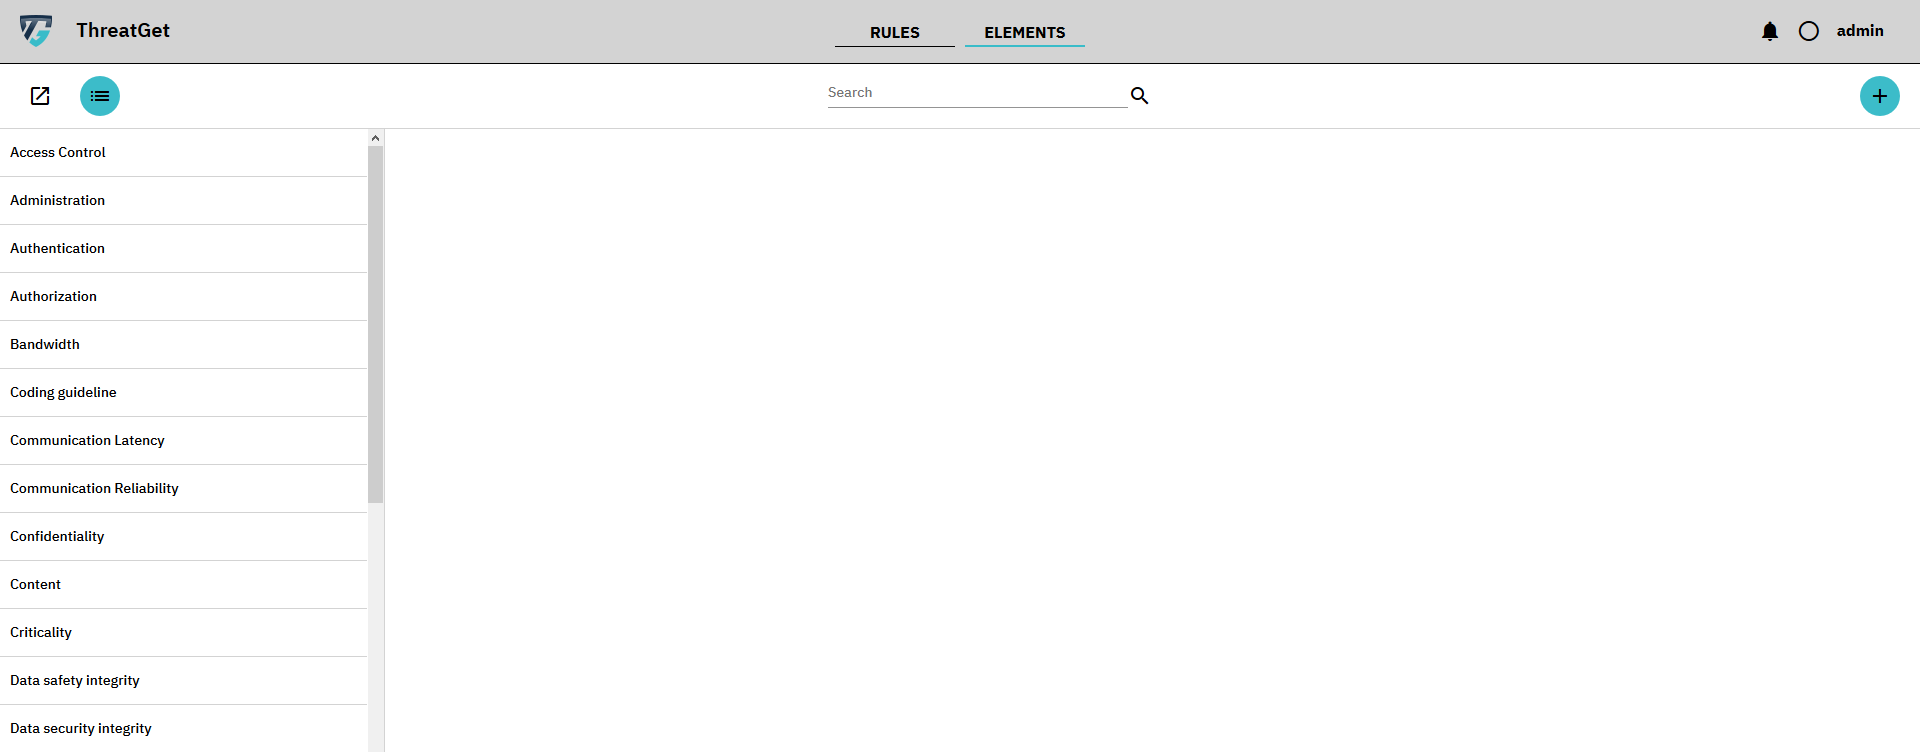
Now we will create a new taggedvalue. To do this, please click on the blue + in the top right corner.

Please enter a name and a description first.
The description is not absolutely necessary, but we always recommend that you include one in order to avoid double definitions.
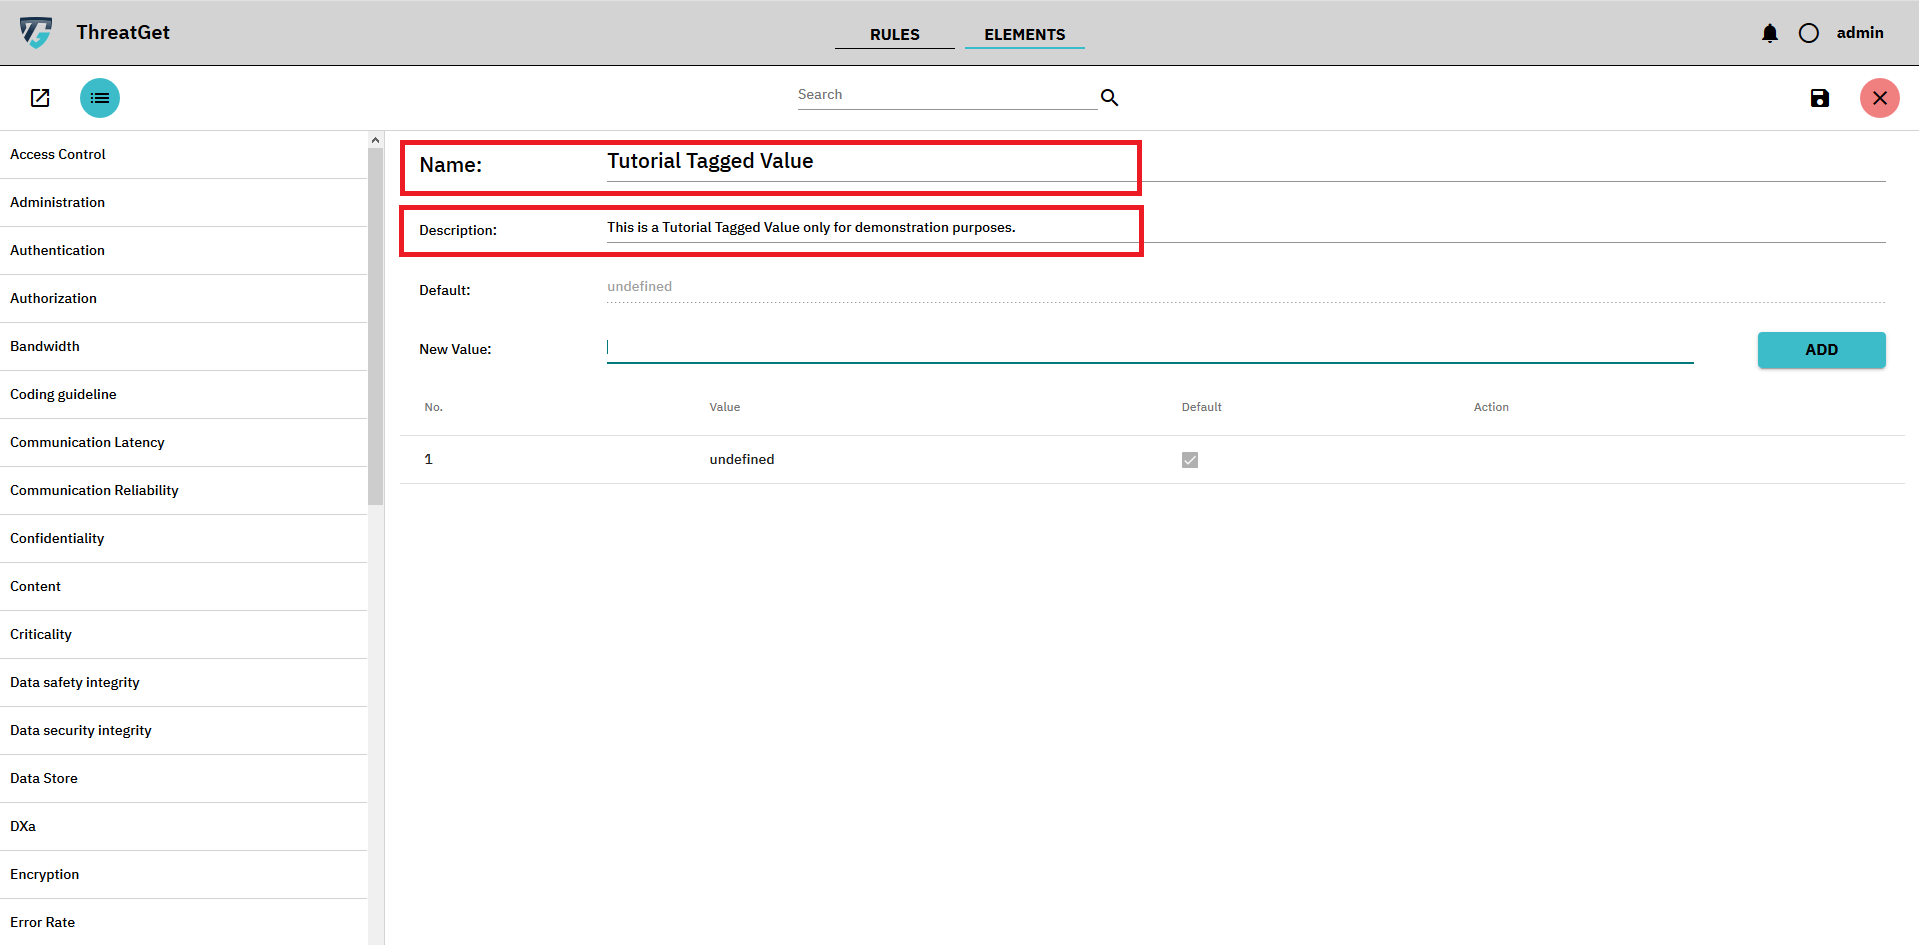
As you can already see, a value with the name undefined has already been automatically assigned.
A tagged value must always have at least one value. Furthermore, it is also automatically the Default value as you can see from the Default field.
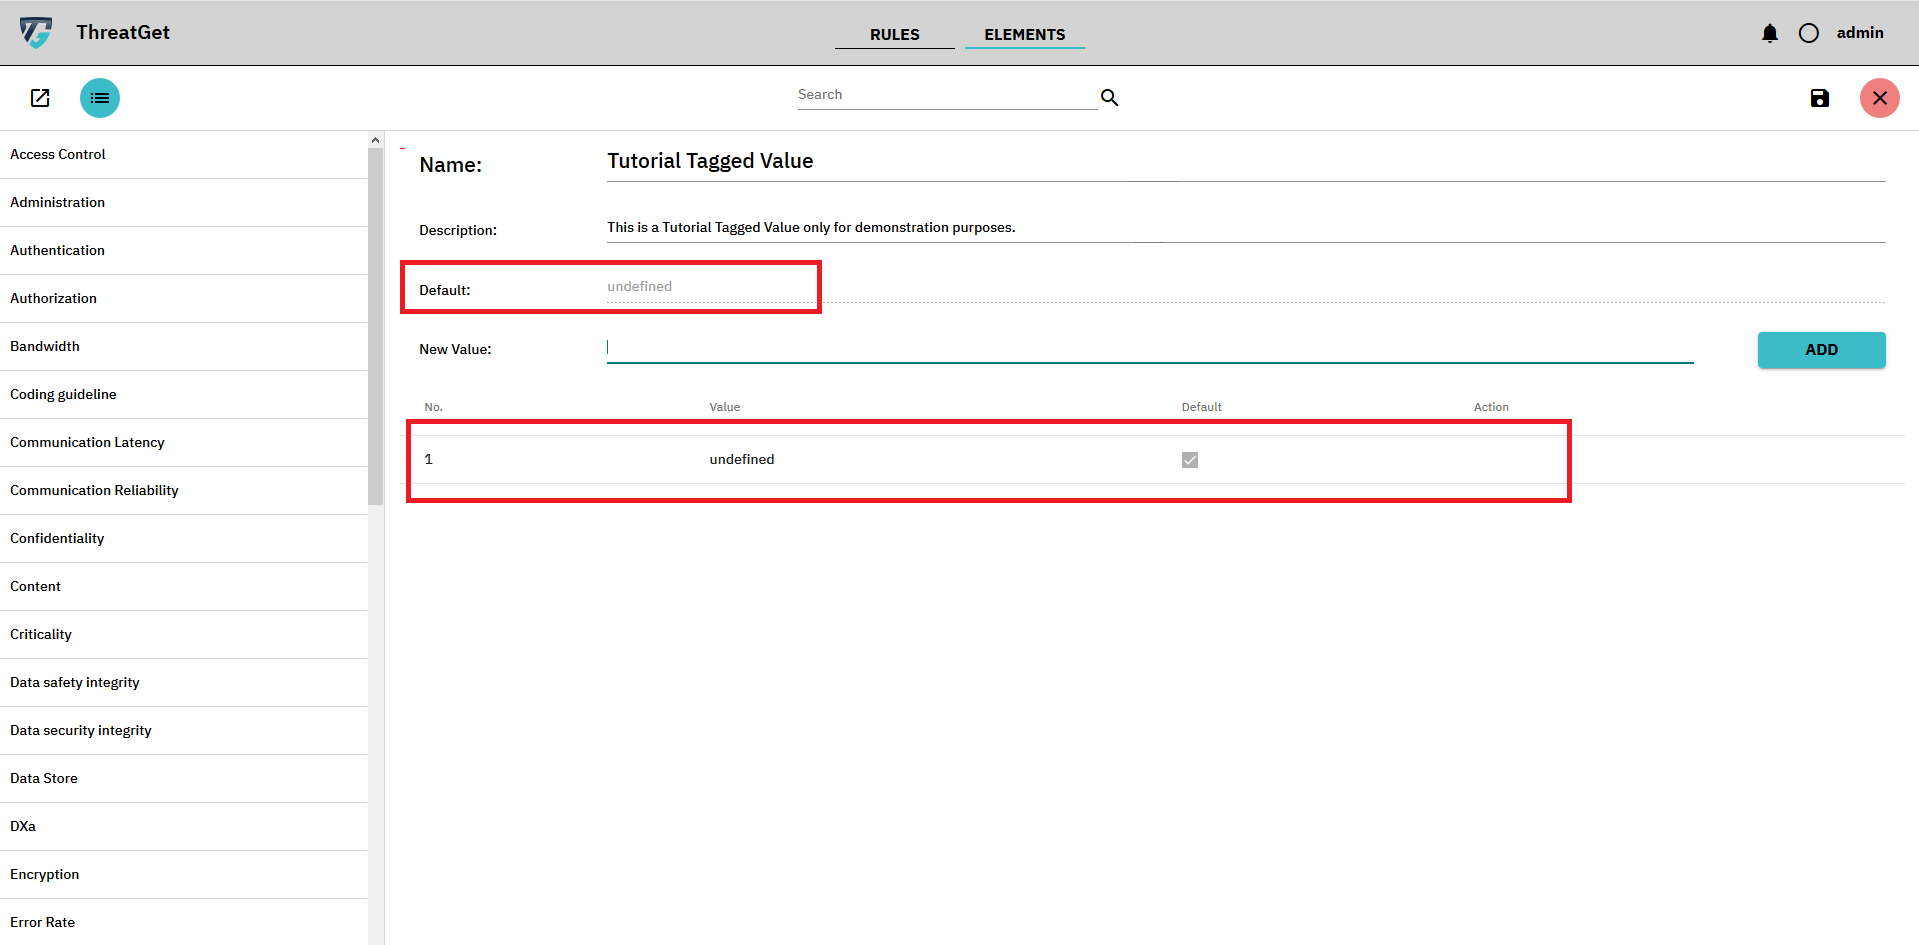
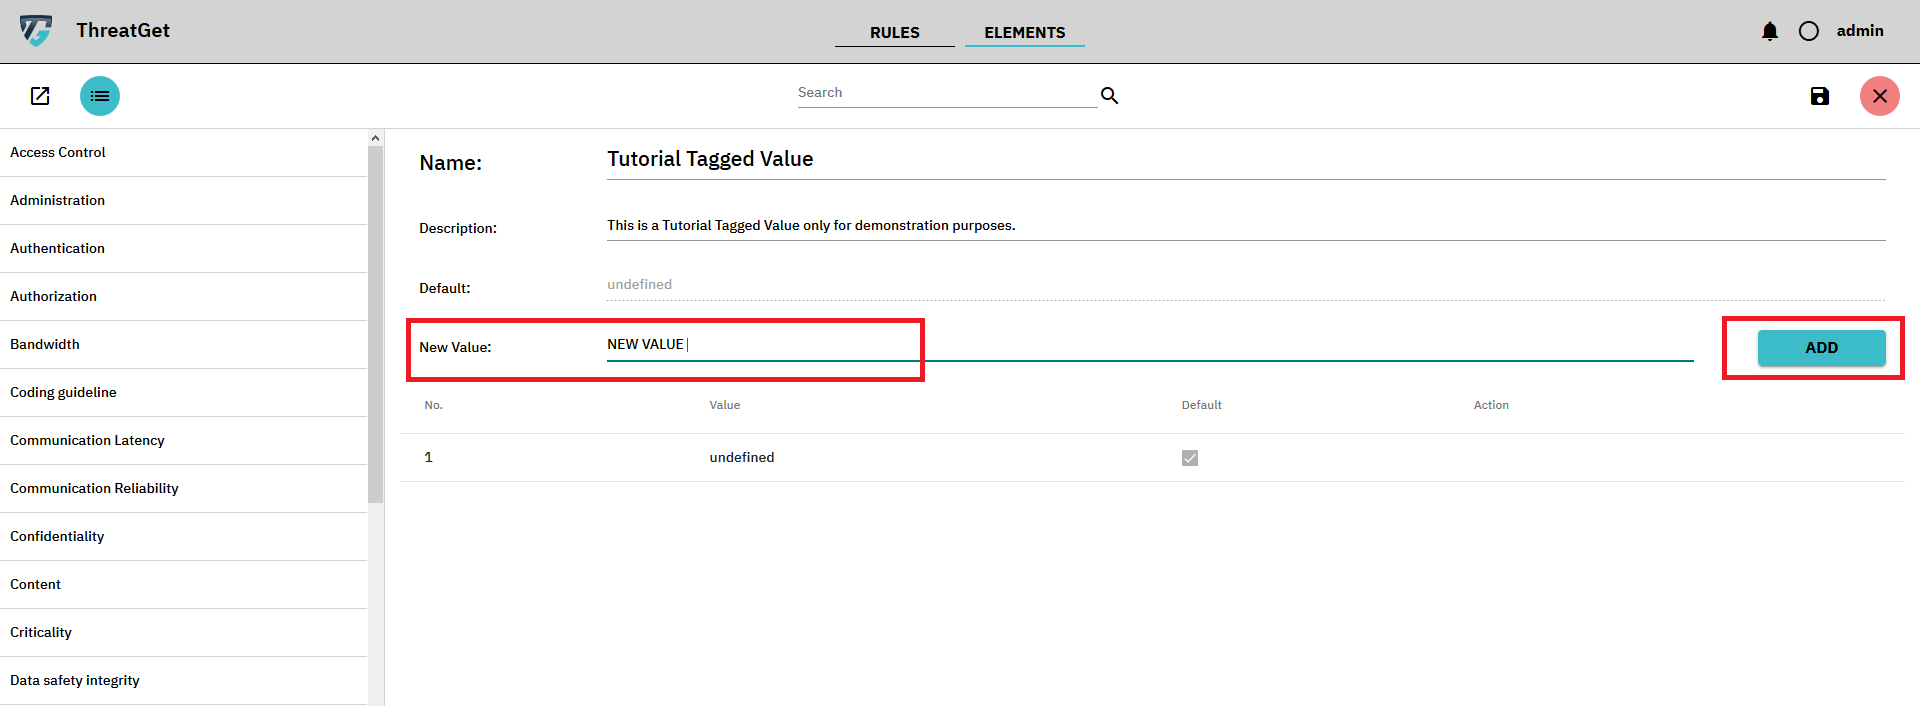
Now we want to assign an additional value to this tagged value, so that its state cannot just be undefined.
To do this, please enter the desired value in the New Value field. Then click the ADD button on the right to add the value.
The value you have defined is then added to the TaggedValue. All defined values are shown in the table below.
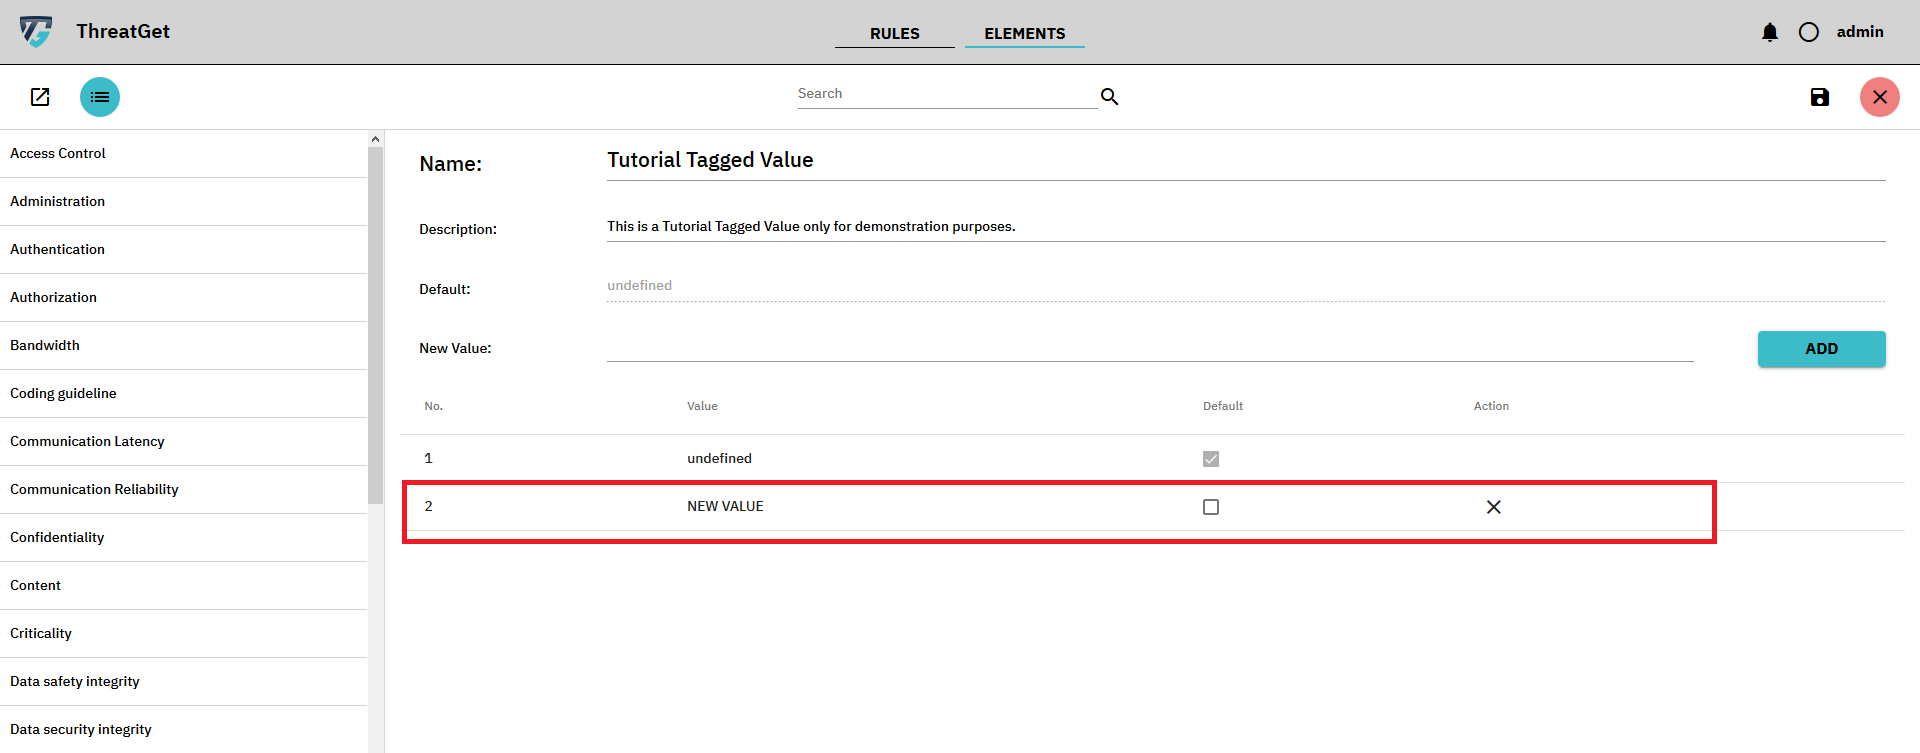
All defined except the current Default VALUE can also be deleted again.
To delete a value click on the X in the Actions column of the table. RED marked in the picture below.
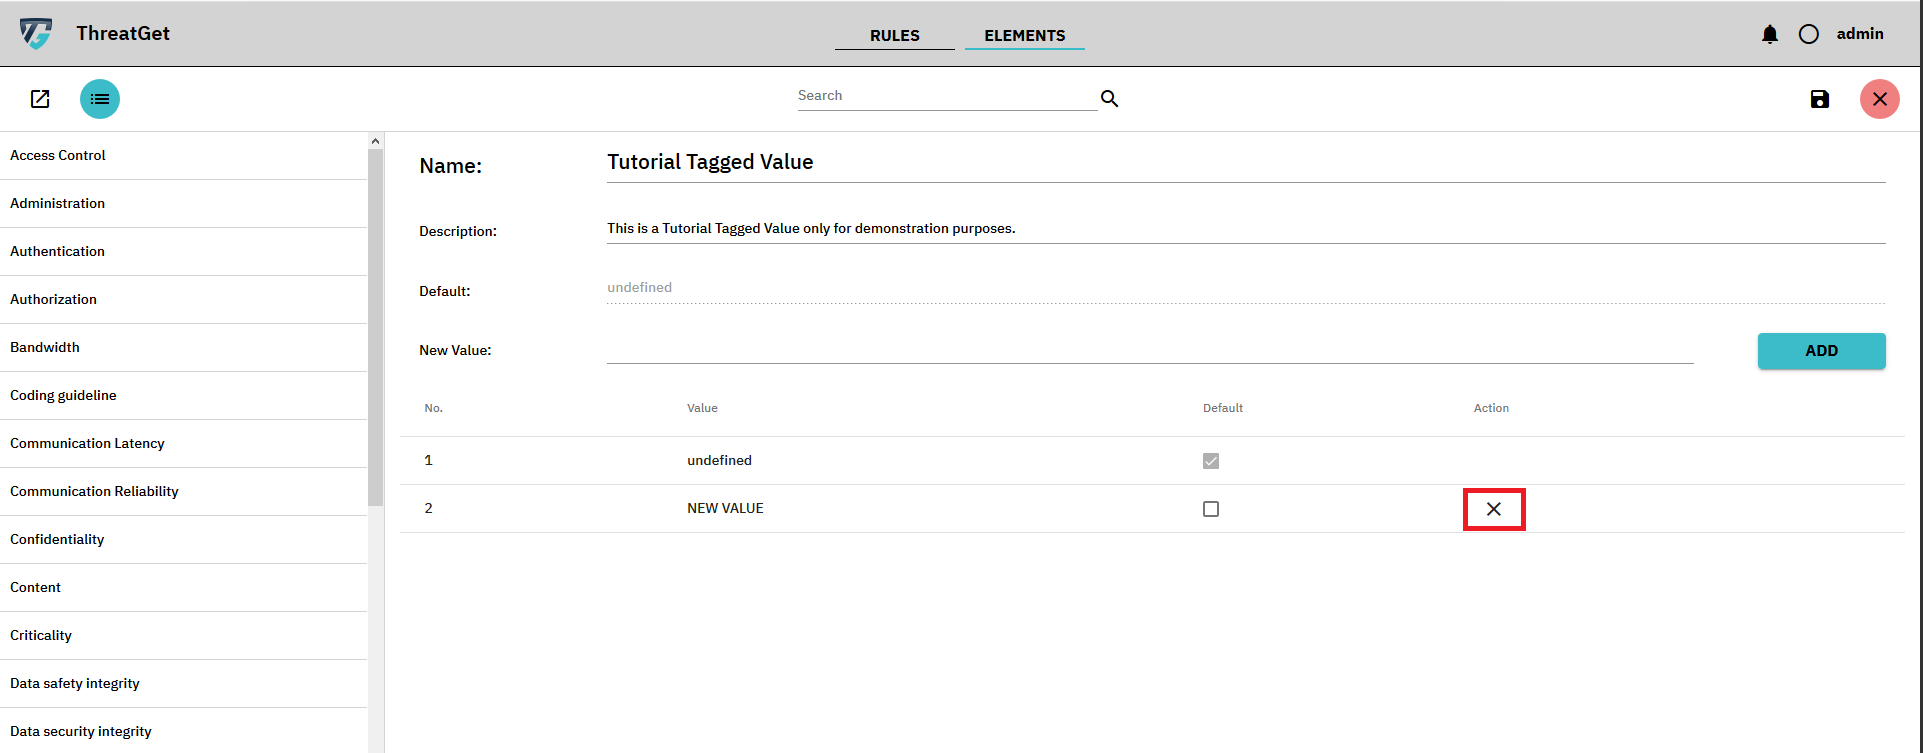
It is also possible to set a different default value for the tagged value.
To change the Default Value click on the Checkbox in the Default column of the table. RED marked in the picture below.
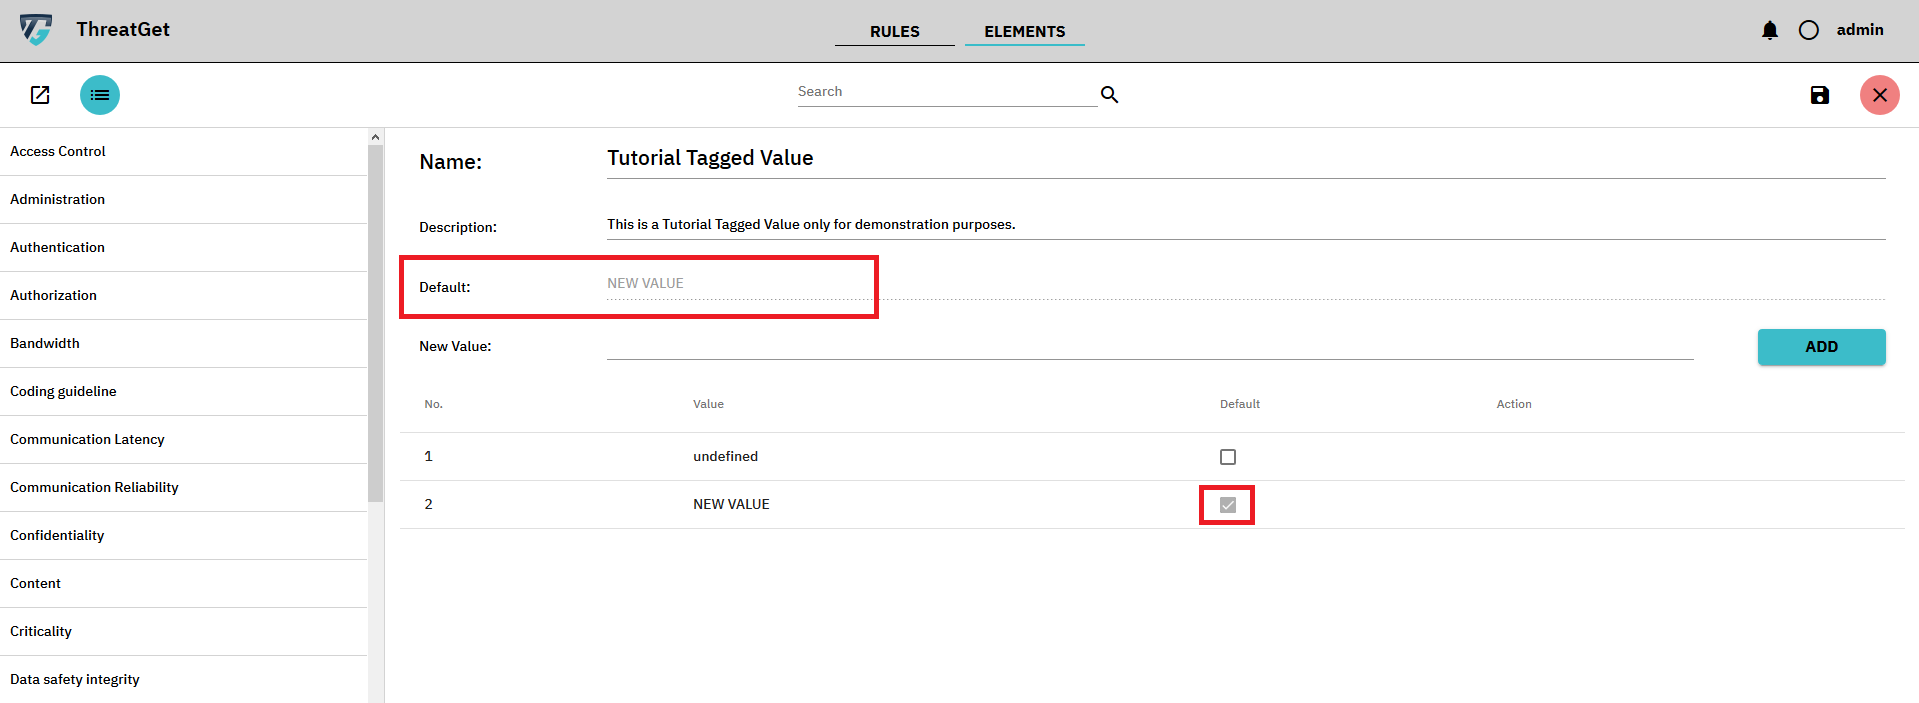
As you can see, the Default Value also changes in the upper field.
To save your newly defined tagged value, please click on the button with the floppy disk in the top right corner.

You can also cancel the creation of the new tagged value by clicking on the X in the top right corner.

Please save this tagged value first, because we want to add it to an element and want to see it in the system editor.
Search for a defined Tagged Value
Since the number of tagged values can increase very quickly, you can also search for one.
To do this, you can simply enter part of the name or description in the search field.

All the tagged values matching the search will then be listed for you.